


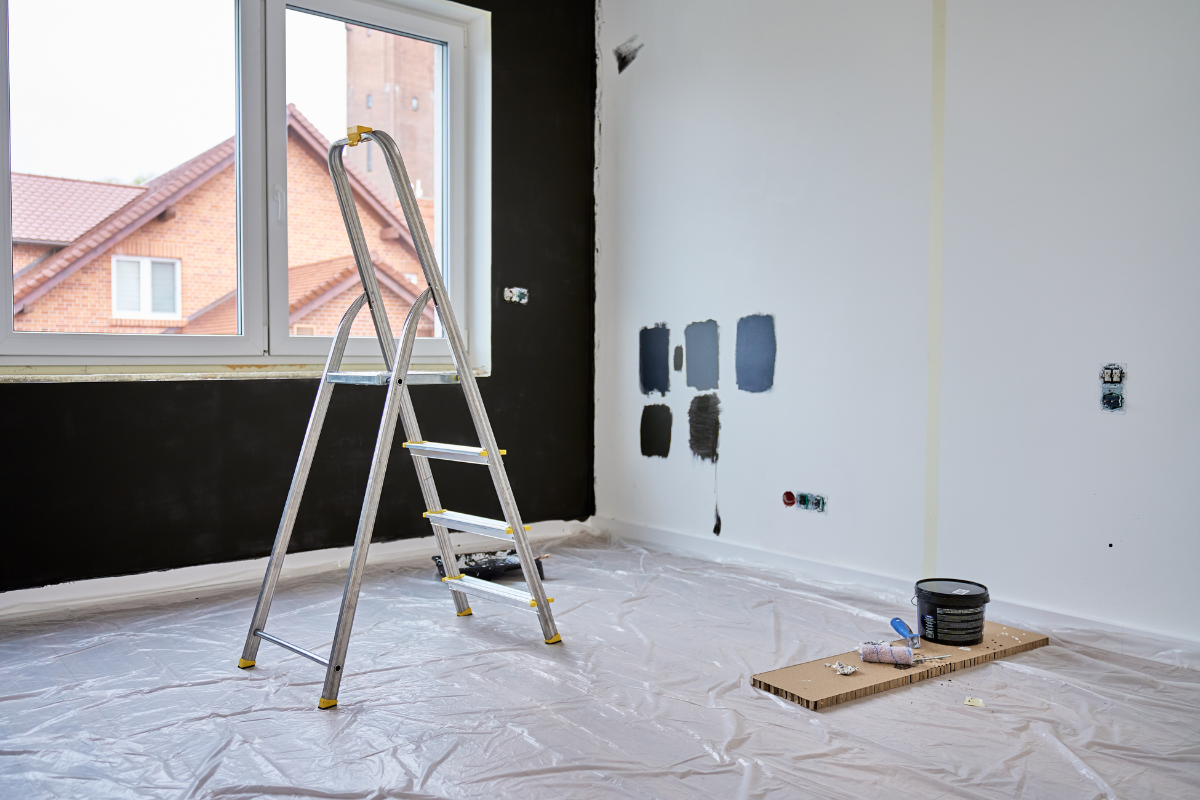
Painting a room can seem like a simple DIY project, but it requires more than just a few coats of paint. One crucial step that many people overlook is using primer. Primer is an essential component of any painting project, whether you’re painting a single room or your entire home, primer will help you achieve a professional-looking finish.
What is Primer?
Primer is a preparatory coating that is applied to surfaces before painting. It is typically a white or off-white color, but it can also come in other colors to help with paint coverage. Primer is formulated to create a smooth, consistent surface for paint to adhere to, and it can help to cover up imperfections, such as stains, marks, or previous paint colors.
Benefits of Using Primer
Improved Adhesion
One of the most important benefits of using primer is that it can improve adhesion. Paint can have difficulty adhering to certain surfaces, such as wood, metal, or previously painted surfaces. Primer creates a surface that the paint can grip onto, which can help to prevent peeling, cracking, or flaking over time. This is particularly important if you’re painting a surface that is likely to be exposed to moisture or other elements.
Increased Durability
Another benefit of using primer is that it can increase the durability of your paint job. Primer is formulated to create a strong foundation for paint, which can help to protect the underlying surface from damage. It can also help to prevent the paint from fading or yellowing over time, especially if the surface is exposed to direct sunlight.
Improved Coverage
Using primer can also improve the coverage of your paint. Primer creates a uniform surface, which can help to prevent the paint from absorbing unevenly. This can save you time and money, as you’ll need fewer coats of paint to achieve a consistent finish.
Hides Imperfections
Primer is an excellent tool for hiding imperfections, such as stains, marks, or previous paint colors. It can help to even out the surface, so the paint looks more consistent. This is particularly important if you’re painting a wall or ceiling that has been previously painted, as the underlying color can bleed through the new paint.
Cost-Effective
Using primer can be cost-effective in the long run. While it may add an extra step to your painting project, it can save you time and money by reducing the number of coats of paint you need to apply. It can also help to extend the life of your paint job, which means you won’t need to repaint as frequently.

Types of Primer
There are several types of primer available, each designed for different surfaces and applications. Here are some of the most common types of primer:
- Oil-Based Primer: Oil-based primer is a good choice for surfaces that are difficult to paint, such as wood or metal. It provides excellent adhesion and is resistant to moisture and humidity.
- Water-Based Primer: Water-based primer is a popular choice for interior surfaces. It dries quickly and is easy to clean up with soap and water.
- Shellac-Based Primer: Shellac-based primer is an excellent choice for covering stains and odors. It dries quickly and creates a hard, durable surface.
- Multi-Purpose Primer: Multi-purpose primer is a versatile option that can be used on a variety of surfaces, including wood, metal, and drywall. It provides good adhesion and coverage, and is easy to apply.
How to Use Primer
Using primer is easy, but it does require some preparation. Here are some steps to follow when using primer:
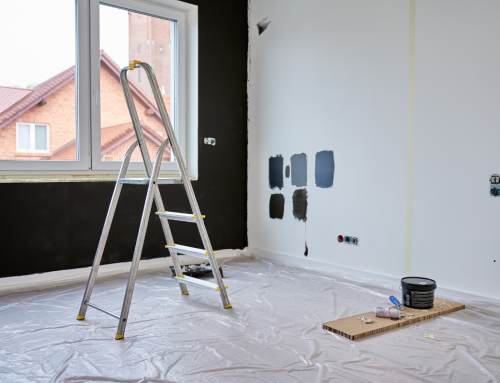
- Clean the surface: Before applying primer, it’s essential to clean the surface thoroughly.
- Prepare the primer: Read the instructions on the primer can to ensure that you mix it correctly. Some primers require stirring or shaking before use.
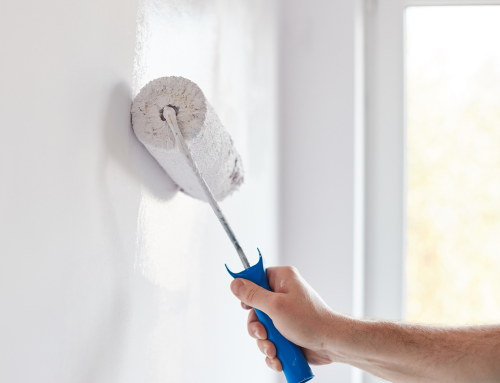
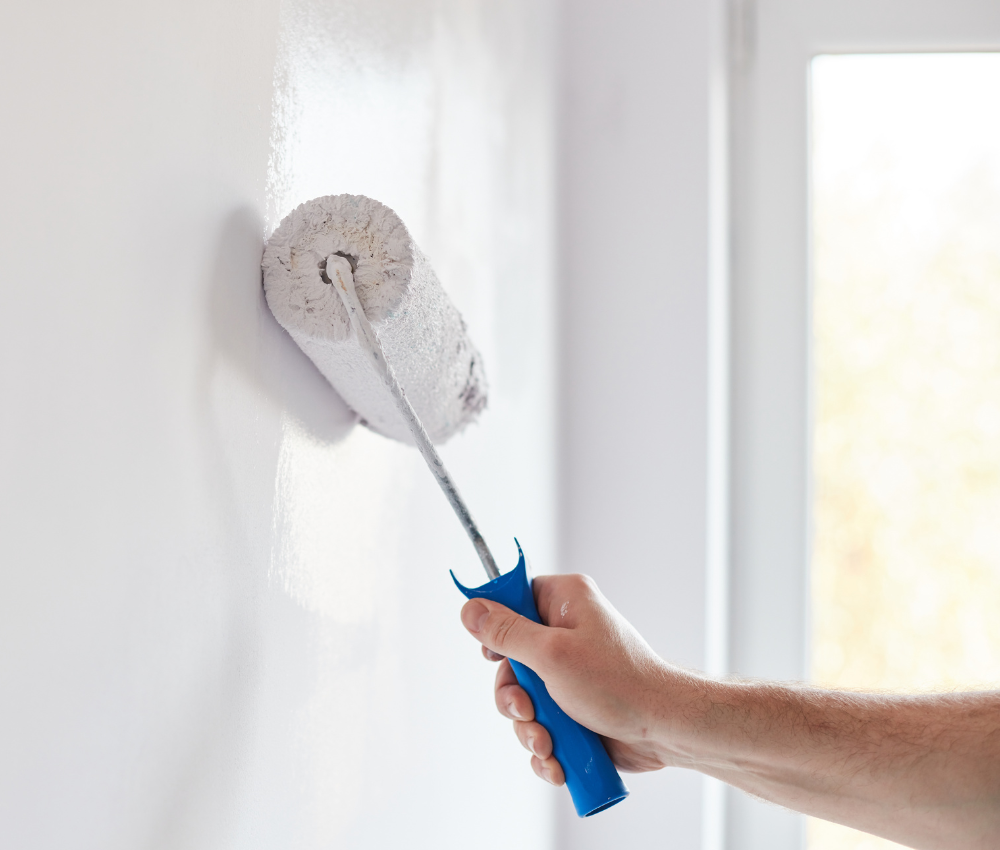
- Apply the primer: Using a brush or roller, apply a thin, even coat of primer to the surface. Make sure to work in small sections, and smooth out any brush strokes or roller marks. Allow the primer to dry completely before applying paint.
- Sand the surface: Once the primer has dried, use fine-grit sandpaper to smooth out any rough spots or imperfections. This will help to create a smooth surface for the paint to adhere to.
- Apply the paint: Once the primer is sanded, you can apply the paint. Make sure to use a high-quality paint brush or roller, and apply the paint in thin, even coats. Allow each coat to dry completely before applying the next one.
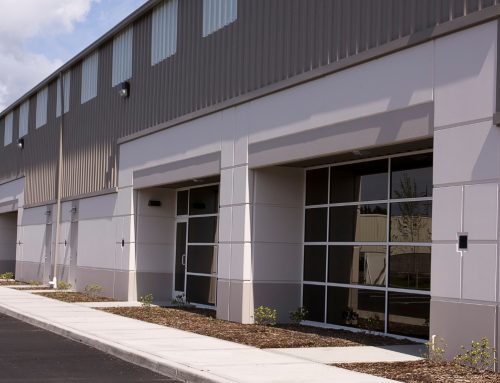
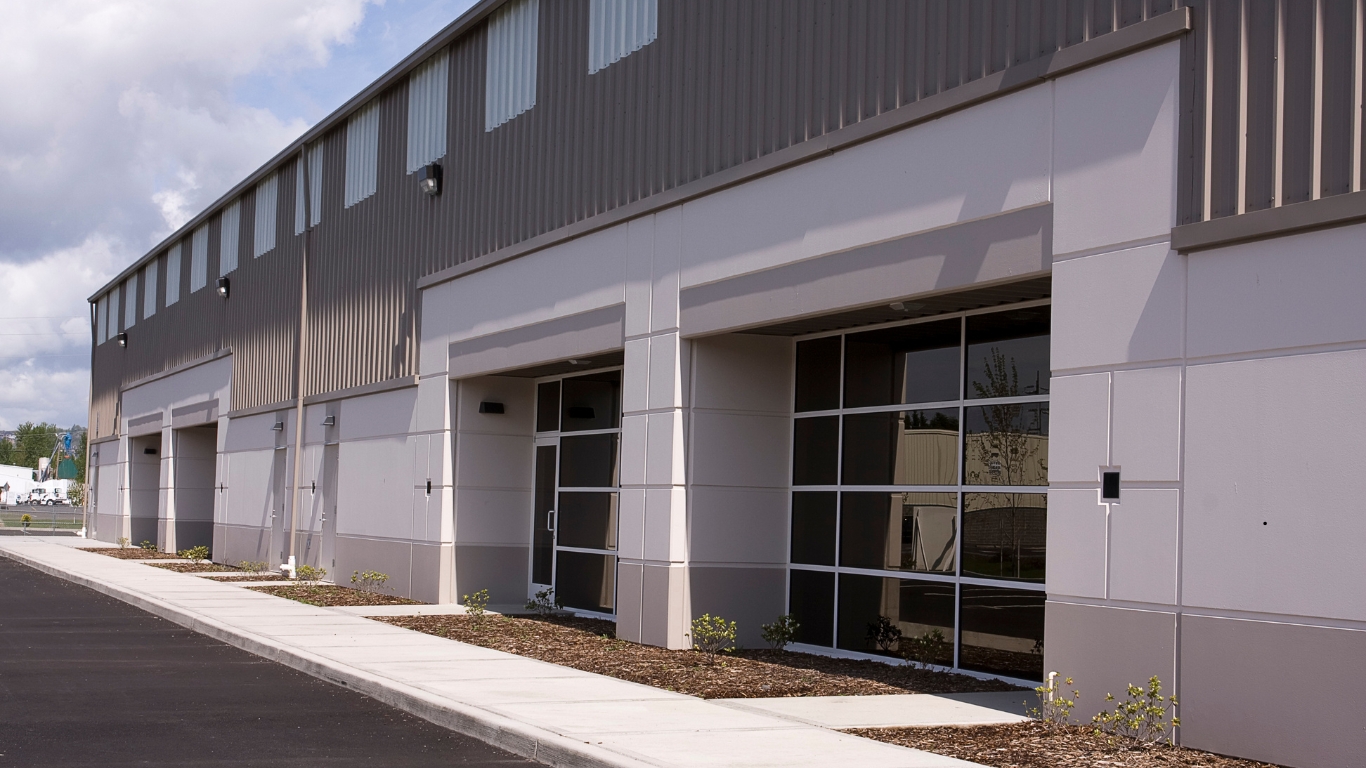
Using a primer is an essential step in any painting project. It can improve adhesion, increase durability, improve coverage, hide imperfections, and be cost-effective in the long run. There are several types of primer available, each designed for different surfaces and applications. When using primer, make sure to clean the surface thoroughly, prepare the primer correctly, apply it in thin, even coats, sand the surface, and then apply the paint. By following these steps, you can achieve a professional-looking finish that will last for years to come. Need help with your commercial or residential paint job? Contact AB Painting and Drywall for paint services today!


Leave A Comment